Why a datum
A room fitted out from the floor inherits everything wrong with the floor: a fall across the room, a settled corner, a screed that is thicker at one end. Each fitting is level with its own patch of floor and none of them line up with each other.
A single horizontal line, established once and used for everything, removes that entirely. Every height in the room is then measured up or down from one reference.
Setting it
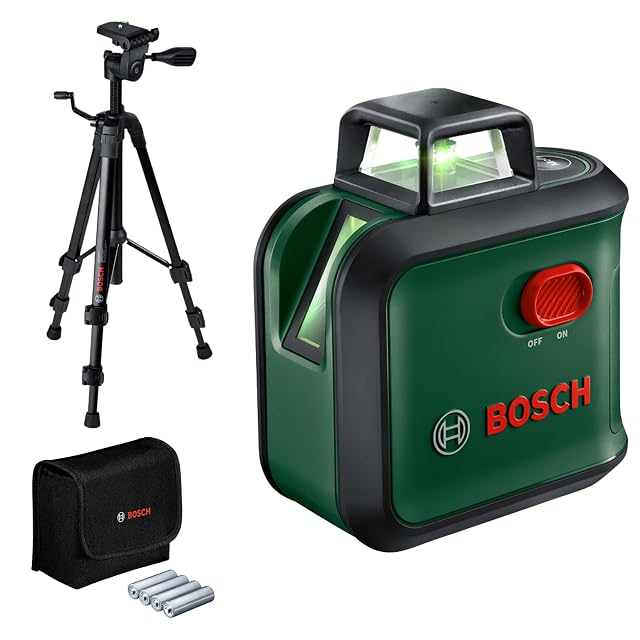
- Set the laser on a tripod near the middle of the room, at a height that puts the line around a meter.
- Let it self-level. If it warns, level the tripod head rather than ignoring it.
- Mark the line on every wall, and in every corner. Use a pencil, and use a target plate where the line is hard to see.
- Measure from the floor to your line at each corner. Write those figures on the wall. They are the map of how far out your floor is, and you will want them.
Check it before you use it
Rotate the laser 180° on the tripod without moving the tripod, and check the line still falls on your first mark. If it does not, the instrument has an error — and half the difference is that error.
Transferring it to the next room
Mark the line on both sides of the doorway before moving anything. Set up in the next room and bring the laser onto the existing mark rather than re-establishing a new height. A datum that is re-derived in each room is not a datum.
Using it
Everything is now a measurement from the line: sockets, worktops, cabinets, tiles, rails. Where the floor falls away, the fitting stays level and the gap goes at the bottom where a skirting covers it — which is exactly where you want it.
What gets asked here
Why one meter?
It is a convention, and a convenient height: above skirtings and below most wall fittings, and easy to add or subtract from. Any height works as long as everyone uses the same one.
What if the laser cannot see the whole room?
Transfer the line. Mark it on two walls, move the laser, and set it back onto the existing marks before continuing. Never re-level from the floor.
Do I need a laser for this?
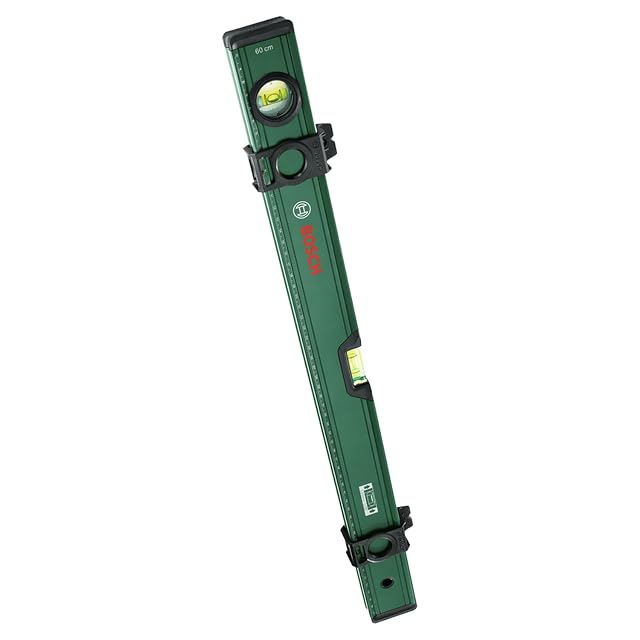
A laser makes it a ten-minute job. It can be done with a long level or a water level, more slowly, and the result is the same.
Last reviewed 31 August 2026